Workspace Admin Settings
This page lets you personalize how your workspace looks and functions.
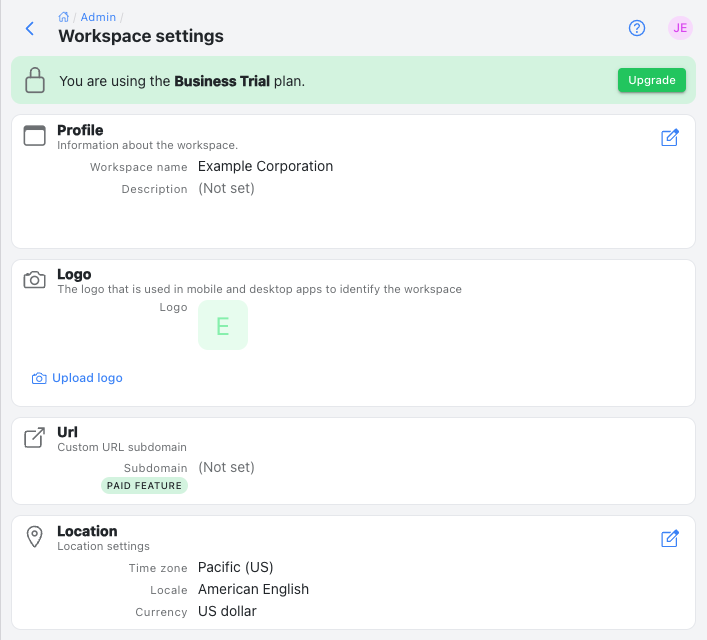
Profile
Set your workspace name and description so team members know they're in the right place
Logo
Upload your company logo to brand your Kutano environment
Url
Create a memorable address for your workspace (e.g., https://yourcompany.kutano.com)
Location
Sets the timezone, locale, and currency for your workspace to ensure everything is in sync with your team's needs. Individual users can override the Time zone and Locale settings.
Status form settings
Choose the default template for new status forms
Status update schedule
Allows the workspace administrator to set a default cadence for new status forms. You can choose the frequency (daily weekly, bi-weekly, monthly) and on which day updates are die and when reminders and summaries are sent
New Users
Configure how new users are added to your workspace, including invitation settings and approval processes.
-
Trusted email domains - Specify company email domains (e.g., yourcompany.com) that receive elevated privileges. Users with these email domains will have special permissions as defined in the settings below.
-
Create user permission - Control who can invite new people to your workspace:
- Only workspace admins can invite new users
- Workspace members can invite users with trusted email domains
- Workspace members can invite users with any email domain
-
Sign up permission - Control who can join your workspace without an invitation:
- Do not allow sign up without an invitation
- Allow sign up with a trusted email domain
-
Approve users - Control the approval process for new users joining your workspace:
- No approval needed
- Approve external email domains
- Approve all users
When user approval is required, a confirmation email will be sent to the workspace administrators with links to quickly approve the user.
User Changes
Control whether users can change their email address or profile information.
Single Sign-On (SSO)
Set up SAML single sign-on authentication for secure access. For more information, see Single Sign In with SAML
User Provisioning
Enable SCIM user provisioning for automated user management. For more information, see User Provisioning with SCIM