Customize a Status Sheet Layout
Getting to the Customize Page
You must be a sheet administrator to have privileges to customize the sheet. There is two ways to access the the status sheet's customize dialog:
- While on your sheet's main view, click on the
 button.
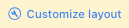
 - Select the customize command
 button.
Customize Page
The customize dialog has three tabs:
- Layout - allow you to set the template and configure its sections
- Schedule - allows you to change the status sheet's schedule
- Settings - allows you to set other advanced settings including the sheet's name and time zone.
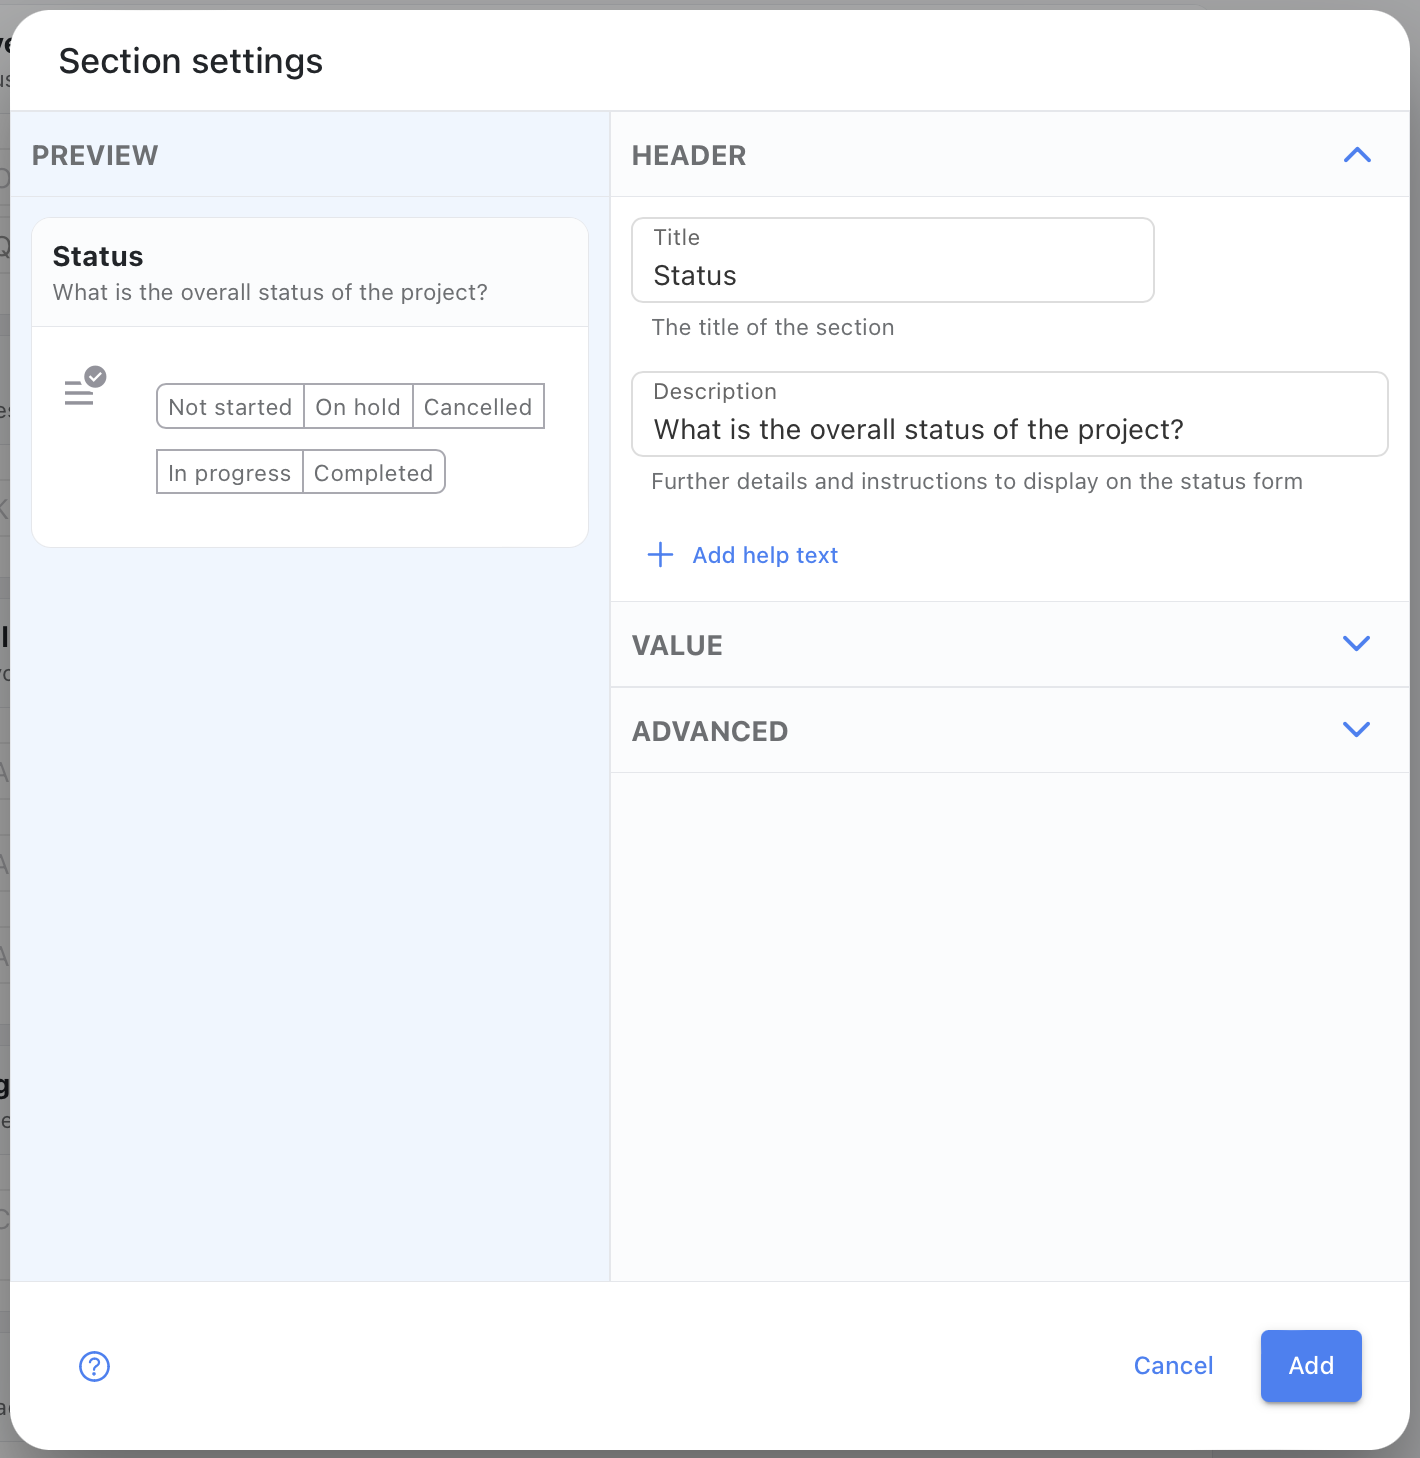
Layout Tab
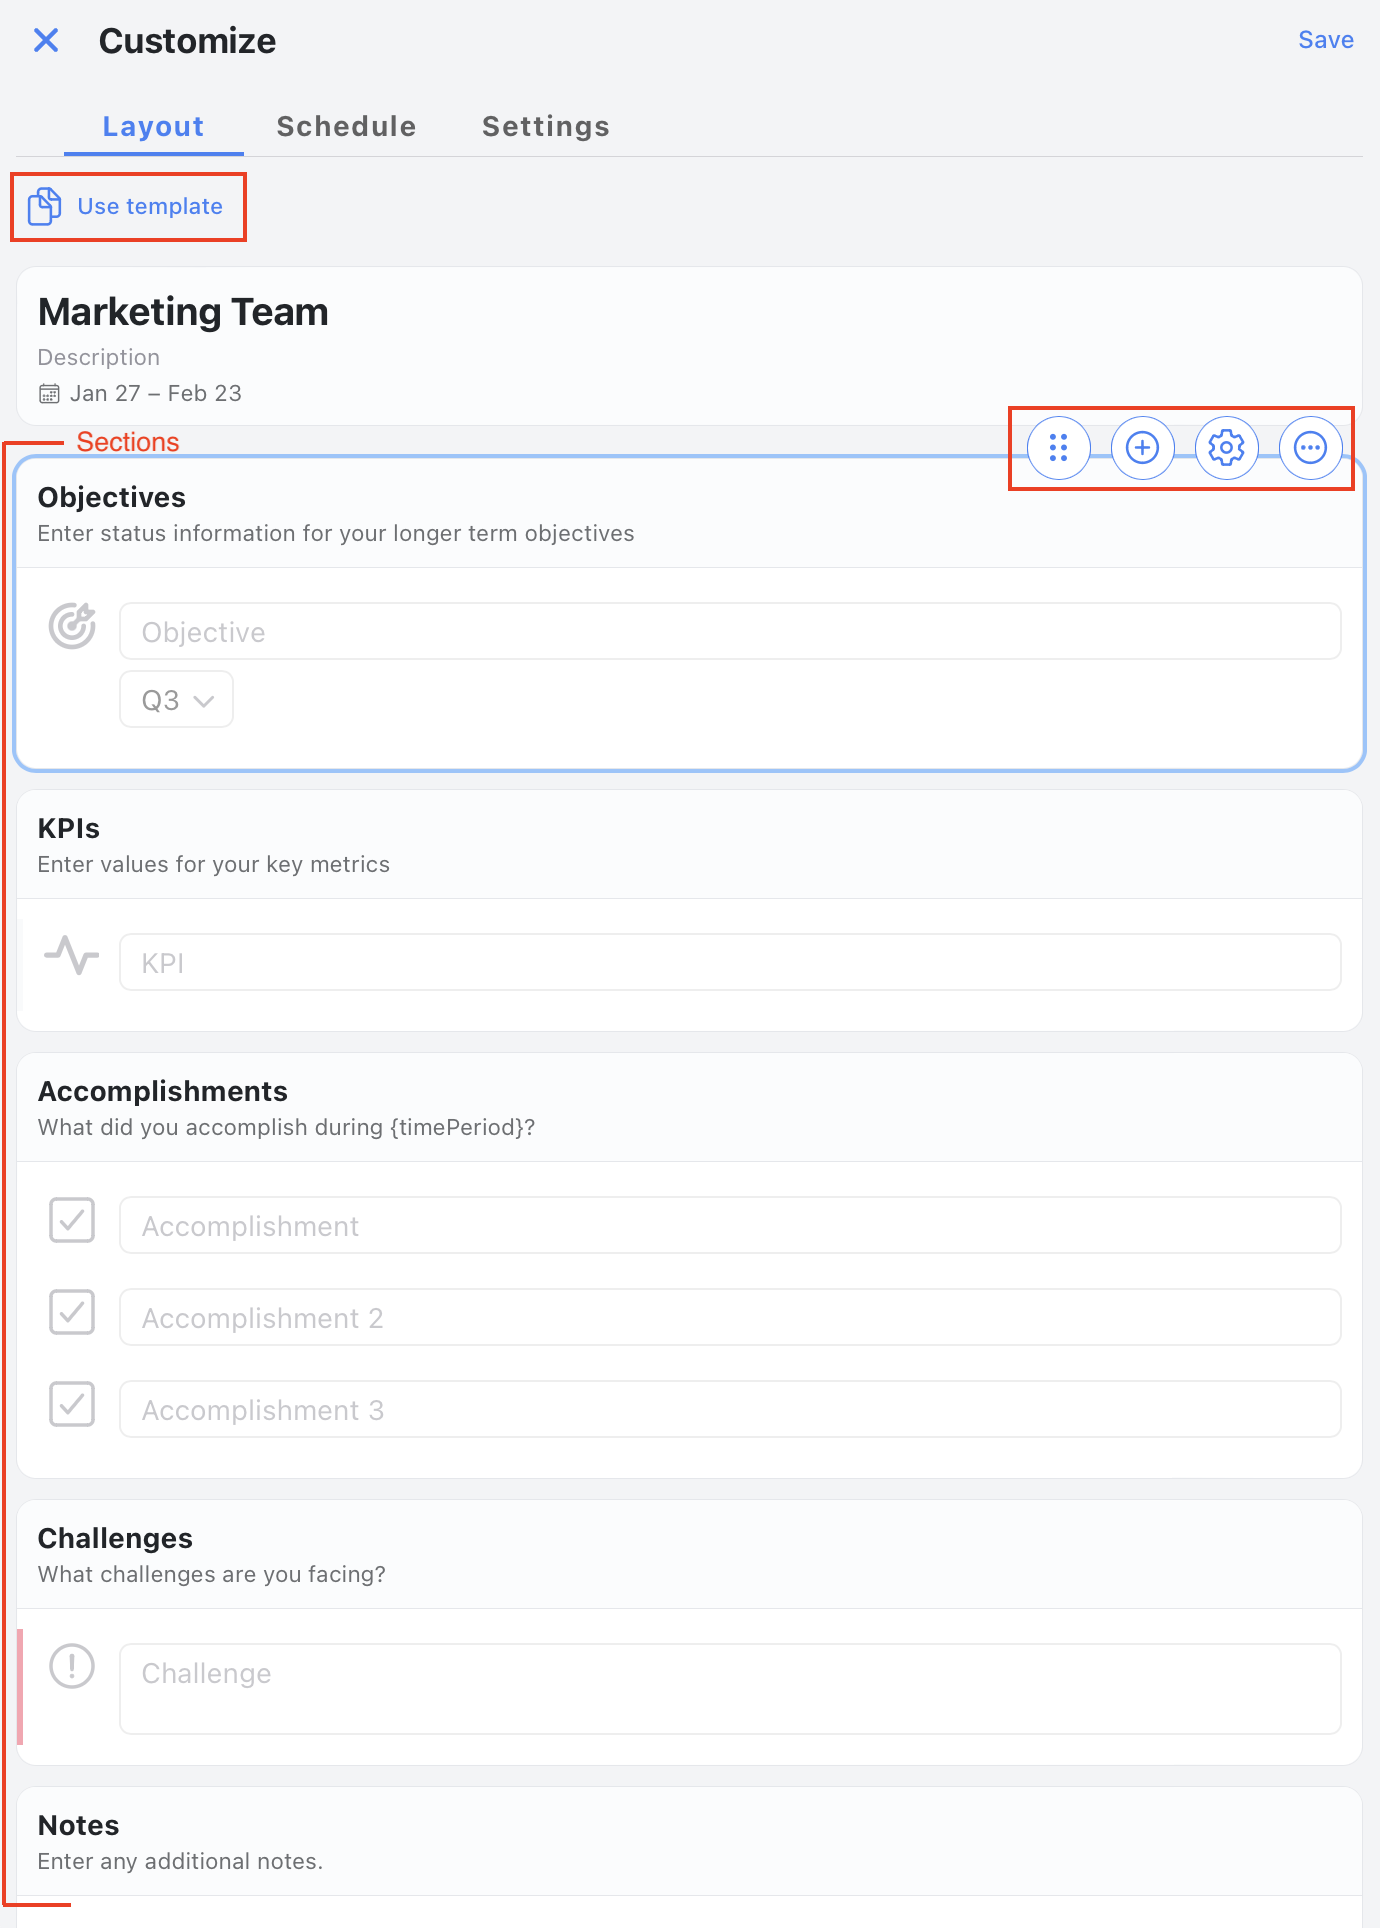
On the Layout tab in the example above, the sheet is configured with 5 sections: Objectives, KPI, Accomplishments, Challenges, and Notes.
 - clicking this button brings up a list of pre-build templates for you to use with your sheet. Once you select a template, your sheet will get an updated set of sections. If the template isn't exactly the information you want to collect, you can still add, remove and configure sections.
 - this icon allows you to reorder the sections within the sheet. To use it, click and drag the section up and down.
 - this icon allows you to add a new section to the status sheet.
 - this icon allows you to make section specific configuration changes. For example, on a Number section, you can select the type (currency, percent, general) and how many digits to display.
 - this icon provides a menu with commands that apply to the section.
Change Template
- Click on the button. This will bring up the template selection dialog.
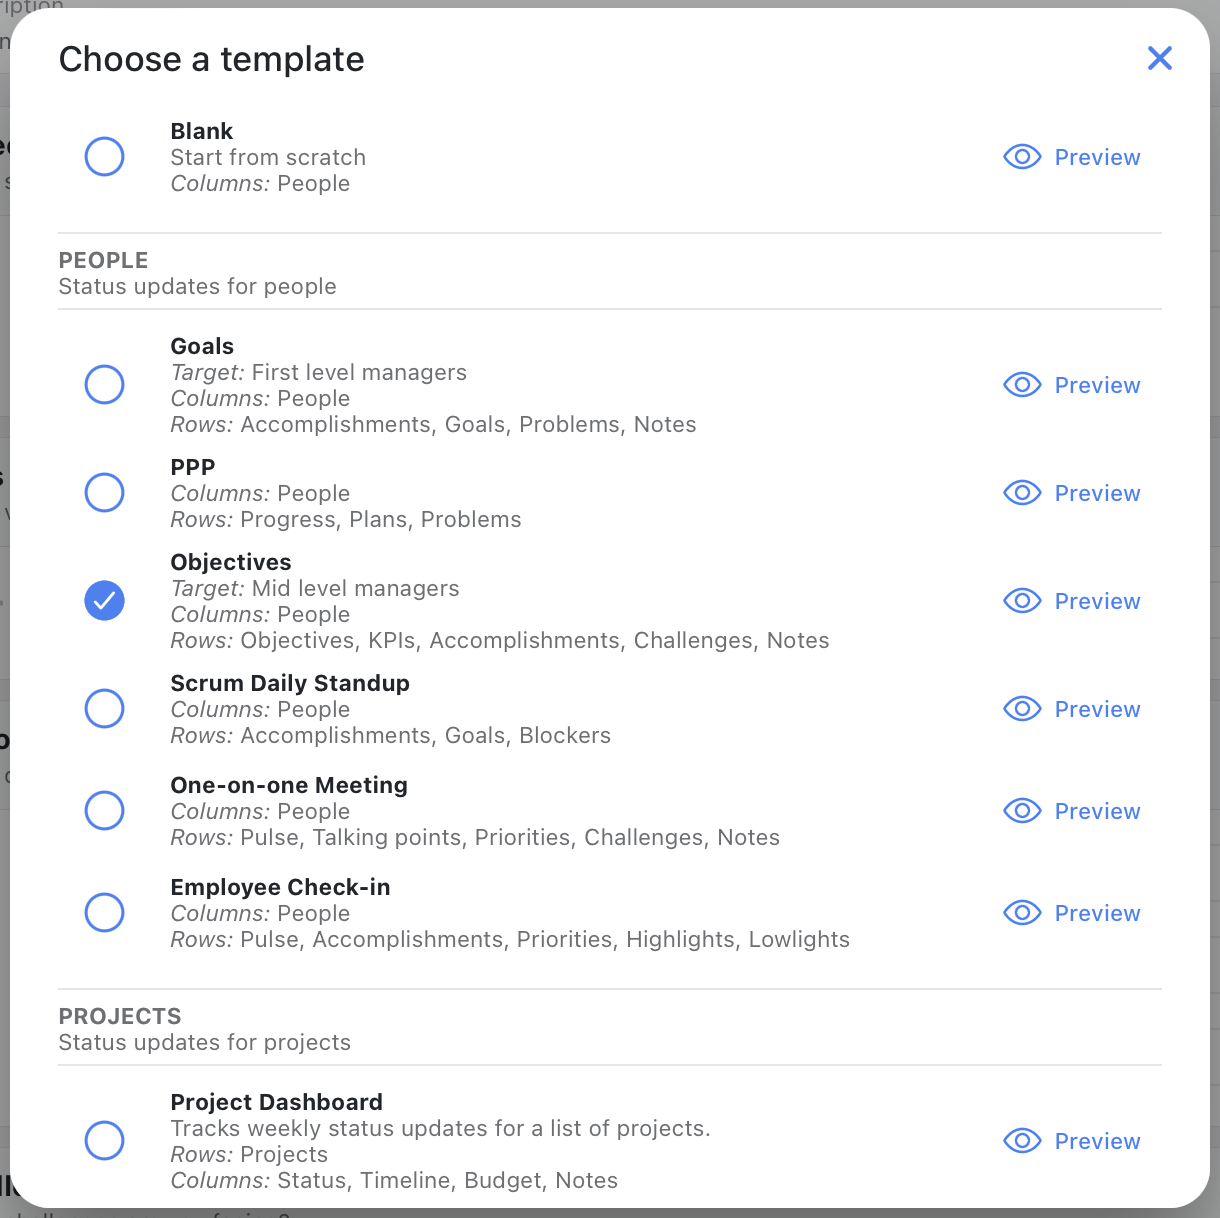
Here you will see the available templates to choose from. Notice that each template has a Preview button so you can see what sections are included in each template. - Click one of the circle icon to select one of the templates.
With a new template selected, your team will now have new set of prompts to answer each status update period.
Add Section
- Click on the or the
 button. This will bring up the Add section selection dialog which allows you to choose from a list of individual sections to add to your status sheet.
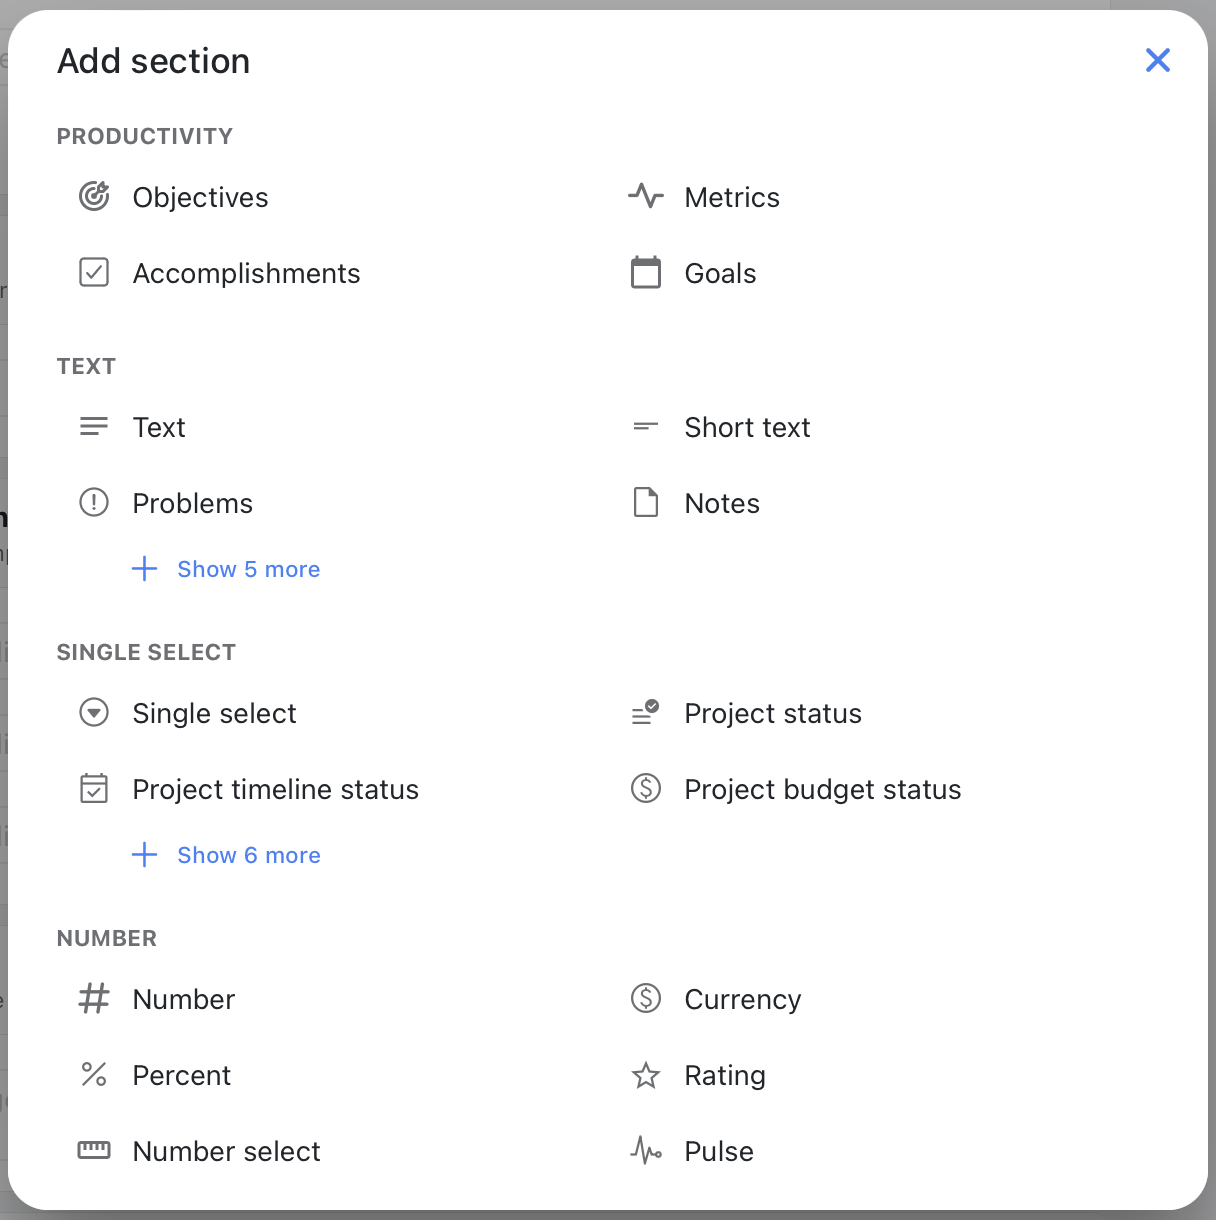
- For this example, click on the
 . Next you will see the Add section dialog for the new status section.
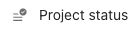
This dialog allows you to customize the new section. Each type of section (Goals, Notes, Text, Status, etc) will have its own unique set of settings.
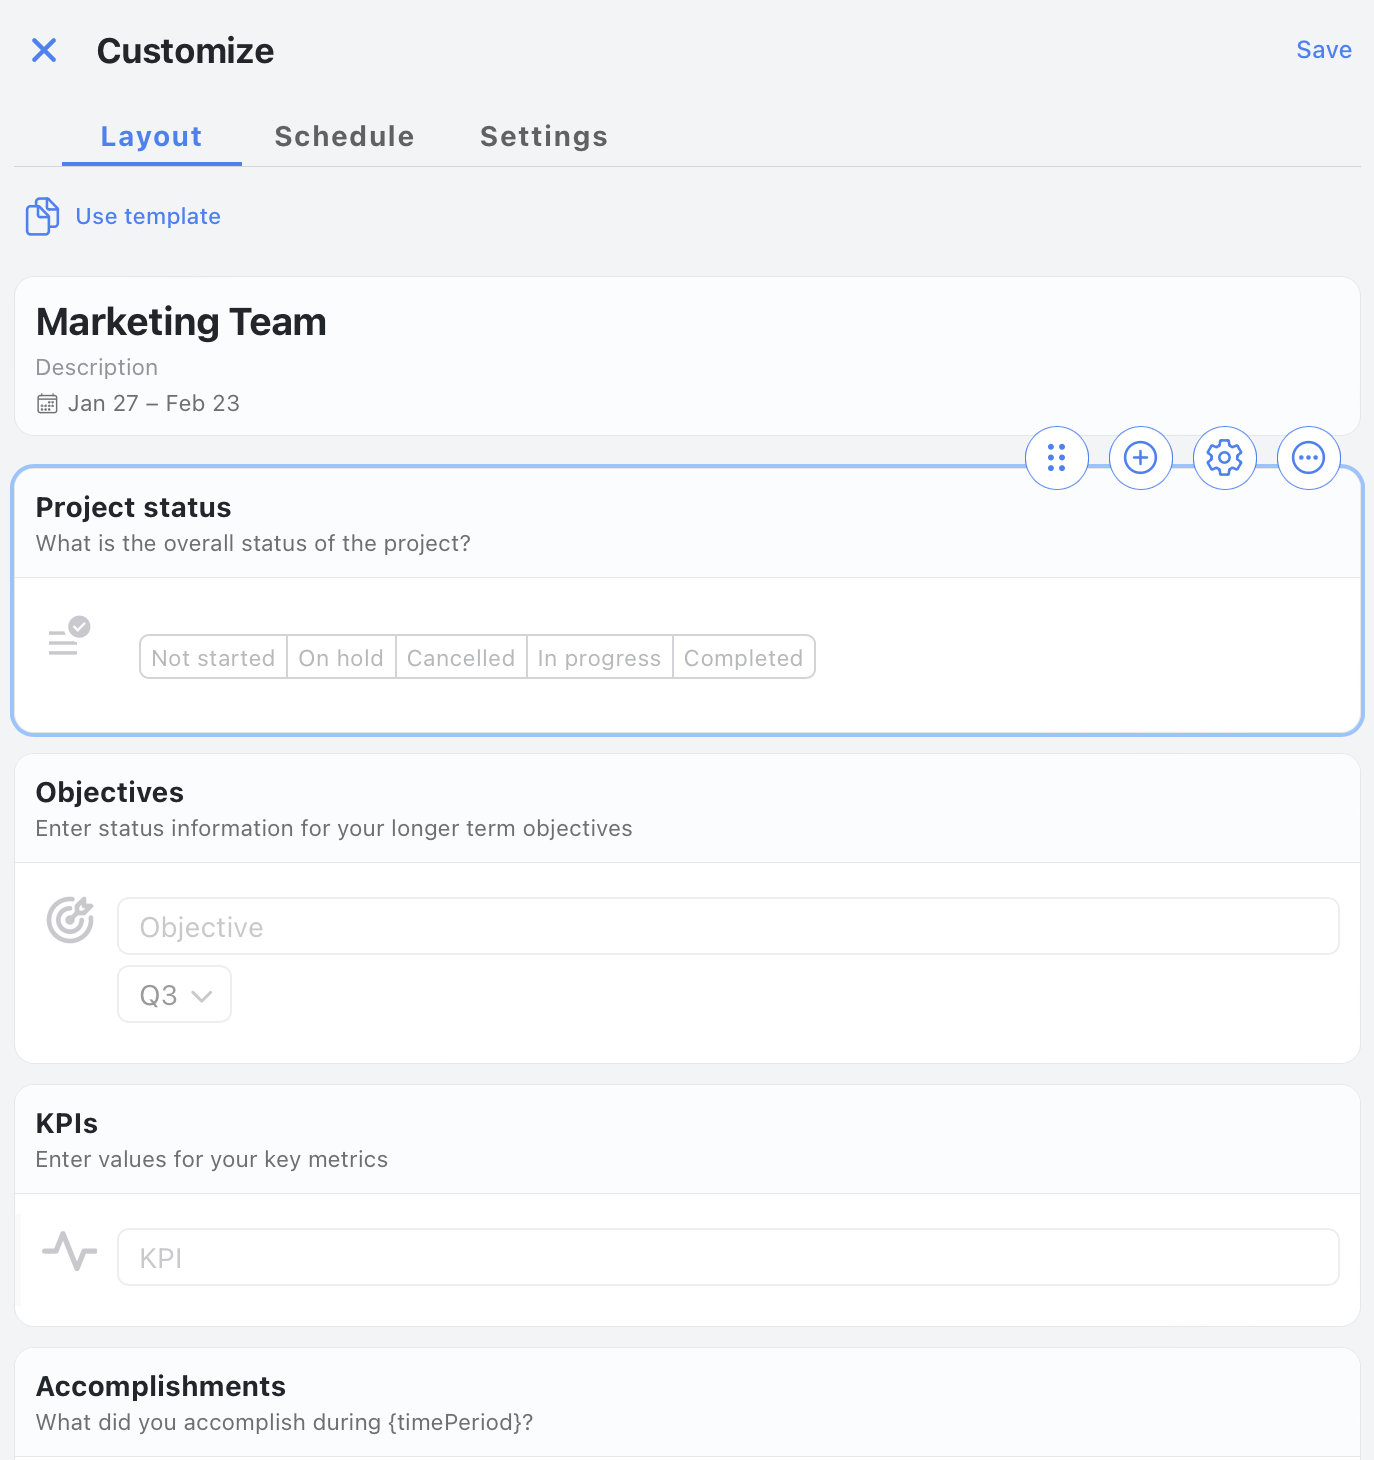
On the left hand side you will see a preview of what the section will look like once added. On the right you have the configurable options that can be set for this section. - Change the Name to Project status and click the Add button. Now you will see the new section at the top of the status sheet.
Edit Section
Any existing section can be edited to further customize how it appears on the status sheet.
- Find the Project Status section, select it by clicking anywhere in the section, then click on the button.
- In the Description field, enter "Enter the status of your project" and click Save.
The description should now appear on the sections list
Delete Section
Any existing section can easily be deleted from the status sheet.
- Find the Project Status section and click on the button then select the Delete section command. The section will be immediately deleted.
Move Sections
Sometimes its important to layout the sections in a certain order.
- Find the Project Status section, select it by clicking anywhere in the section, then click and drag on the reorder button moving it up or down until you have moved it to the desired location within the status sheet.
Schedule Tab
Kutano allows you to set a number of sheet scheduling values including the sheet's due date as well as when the reminder and status update reports get sent out.
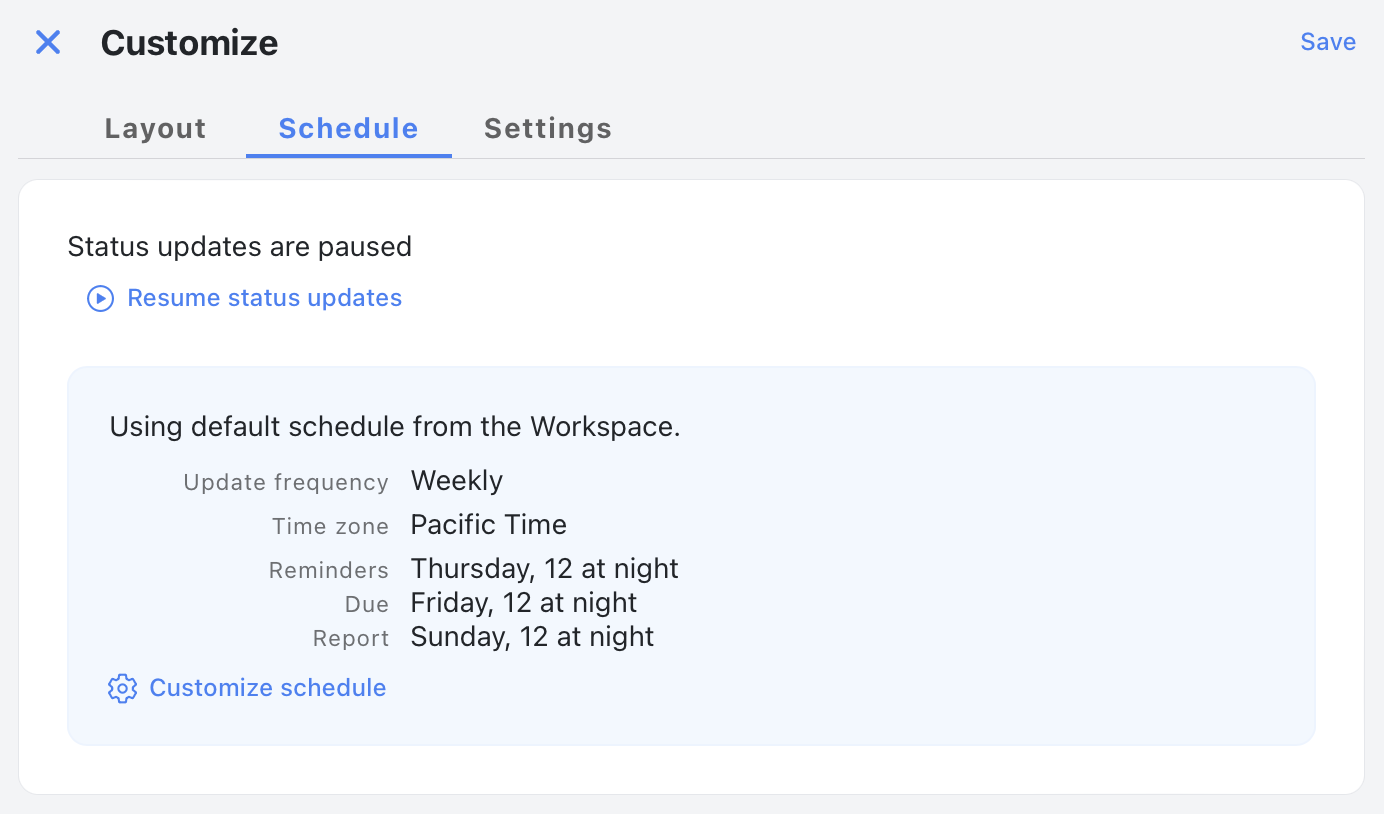
Status Update State
If the status updates are paused that means that none of the periodic processes will be executing. Reminder and status update report emails will not be sent to the sheet members. If you are in this state, the ![]() button will appear allowing you to enable the sheet for processing.
button will appear allowing you to enable the sheet for processing.
If the status updates are enabled the both reminders and status update emails will be sent out on the appropriate schedule. If you are in this state, the ![]() button button will appear. By clicking on it you will disable the periodic processes for the sheet.
button button will appear. By clicking on it you will disable the periodic processes for the sheet.
Customize Schedule
Using the ![]() button, the following settings can be configured:
button, the following settings can be configured:
- Update frequency How often should the status updates occur (weekly, daily, monthly, etc). Defaults to weekly. Frequency choices are:
- Daily (M - F) Every work day (Monday through Friday)
- Weekly Once a week on a specific day of the week
- Every other odd week Every other week on a specific day of the week. The odd weeks are determined by the ISO Week calendar (See current week number)
- Every other even week Same as above but for even numbered weeks.
- Monthly Once a month on a specific day of a specific week within each month.
- Day of week Which day of week should the status updates occur.
- Time What time of day should the status update be due. Defaults to midnight (12am).
- Reminder timing When to send a reminder to members to submit their status updates. Defaults to Thursday at midnight but can be set to any time 24 hours before the status update is due.
- Report timing When to send out the report after the status update due date. Defaults to Sunday at midnight but can be set to any time up to 2 day after the status update is due.
Settings Tab
The Settings tab allows you to make advanced customizations to your status sheet.
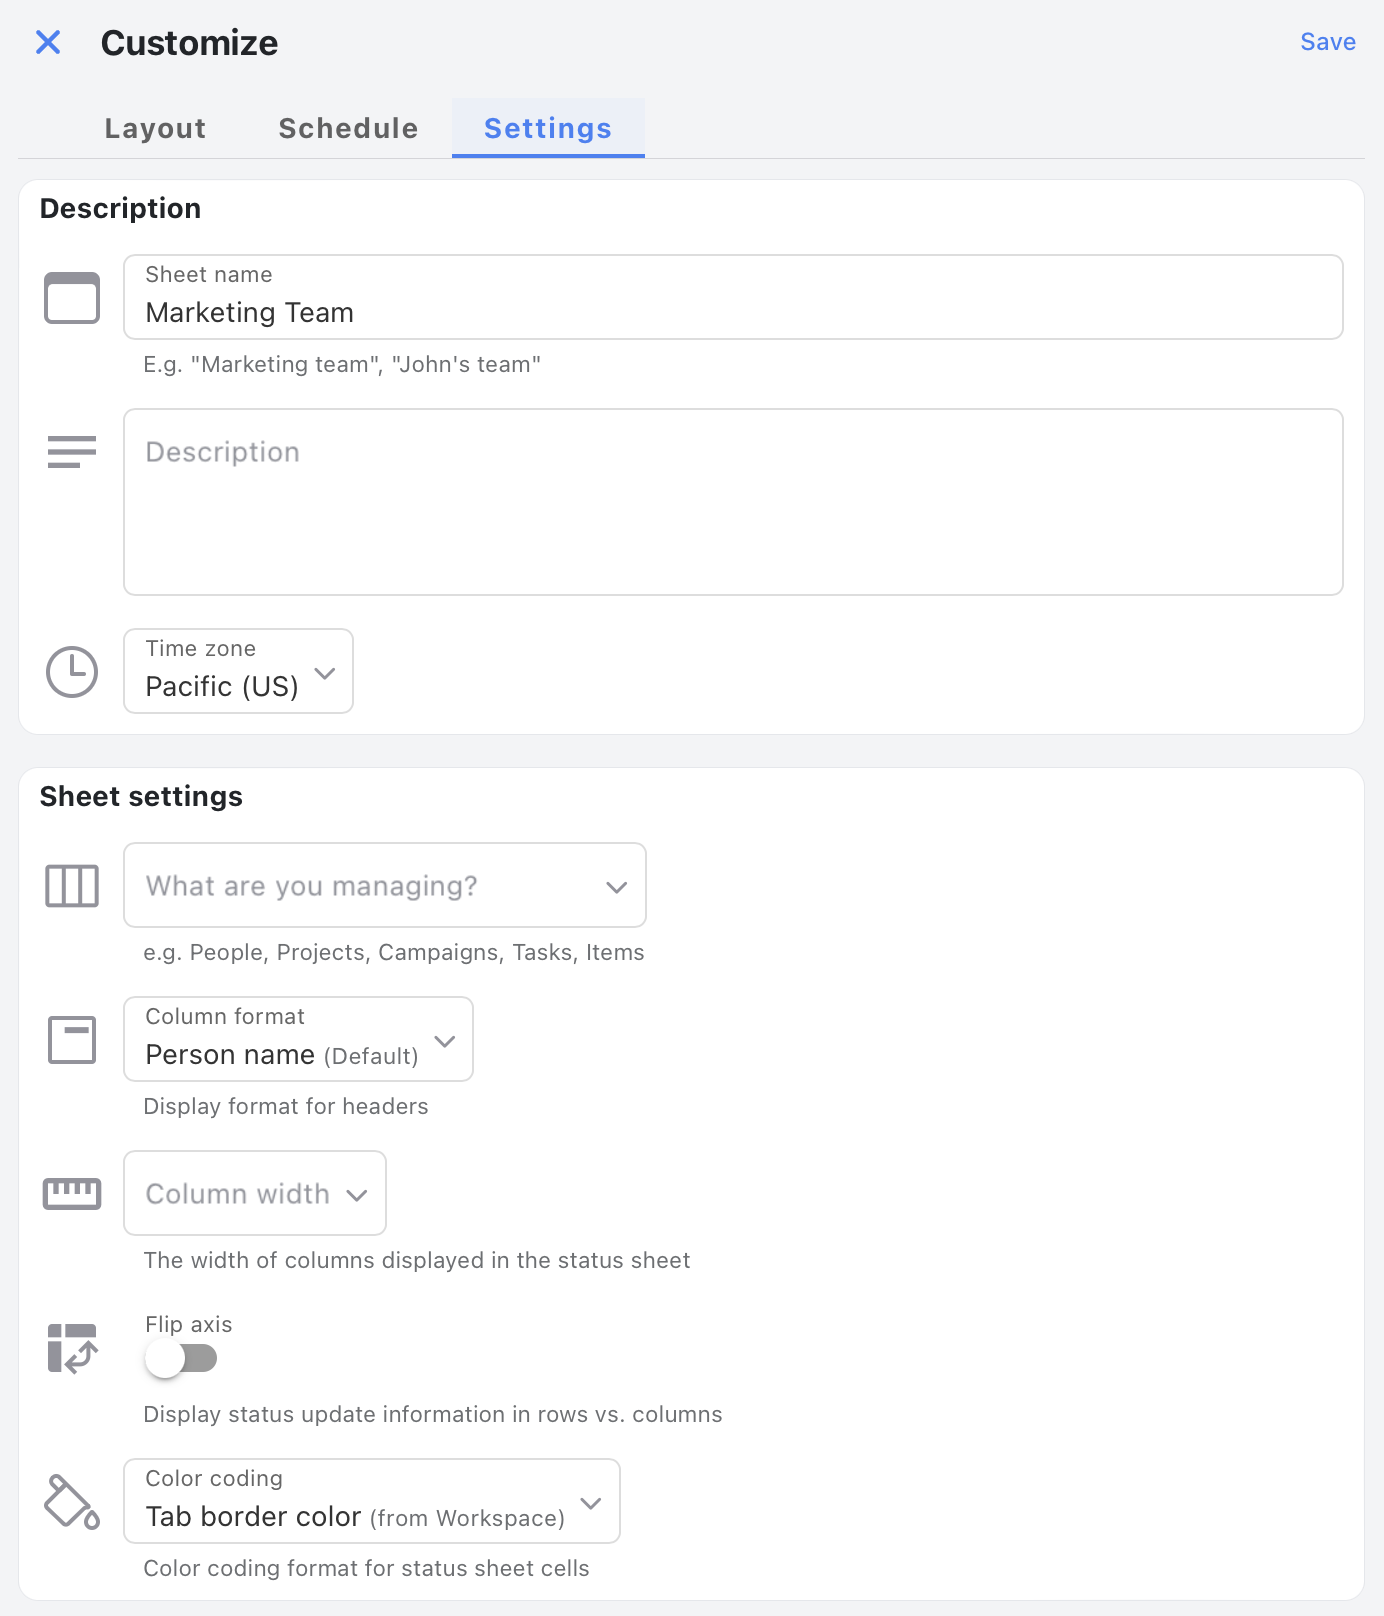
- Sheet name This allows you the set the name of the sheet.
- Sheet description In this entry you can enter a more verbose description of the status sheet.
- Time zone The time zone in which this sheet will operate. This is important when you are setting schedule when you want the status update reminders and reports to be sent out (see below).
- What are you managing? This allows you to specify the type of information you are tracking so that Kutano can provide better contextual messaging to your sheet's members. For example, If you are tracking the status of a people, you can enter People. If you are tracking the status of a project, you can enter Projects. Other suggestions include Campaigns, Tasks, or Items. If you are not managing people, you should also set the Column format to Column title.
- Column format You can choose between Person name and Column title to display the name of the person or the title of the column.
- Column width You can set the width of each column to a specific number of characters. This is useful if you are tracking a lot of columns and want to make sure that the columns are not too wide.
- Flip axis This will flip the rows and columns on the status sheet. This is useful if you are tracking a lot of projects or people and prefer seeing them as rows instead of columns.
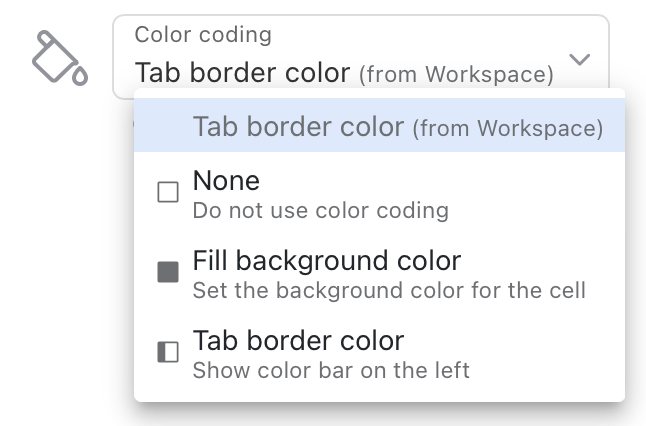
- Color coding This setting allows you to turn or off the color coding of each section on the status sheet. Certain sections can be colored to help indicate the status of the information contained in that section. For example, if you are tracking the status of a project, you can color the section green when it is complete and red when it is behind schedule. The choices for this setting are